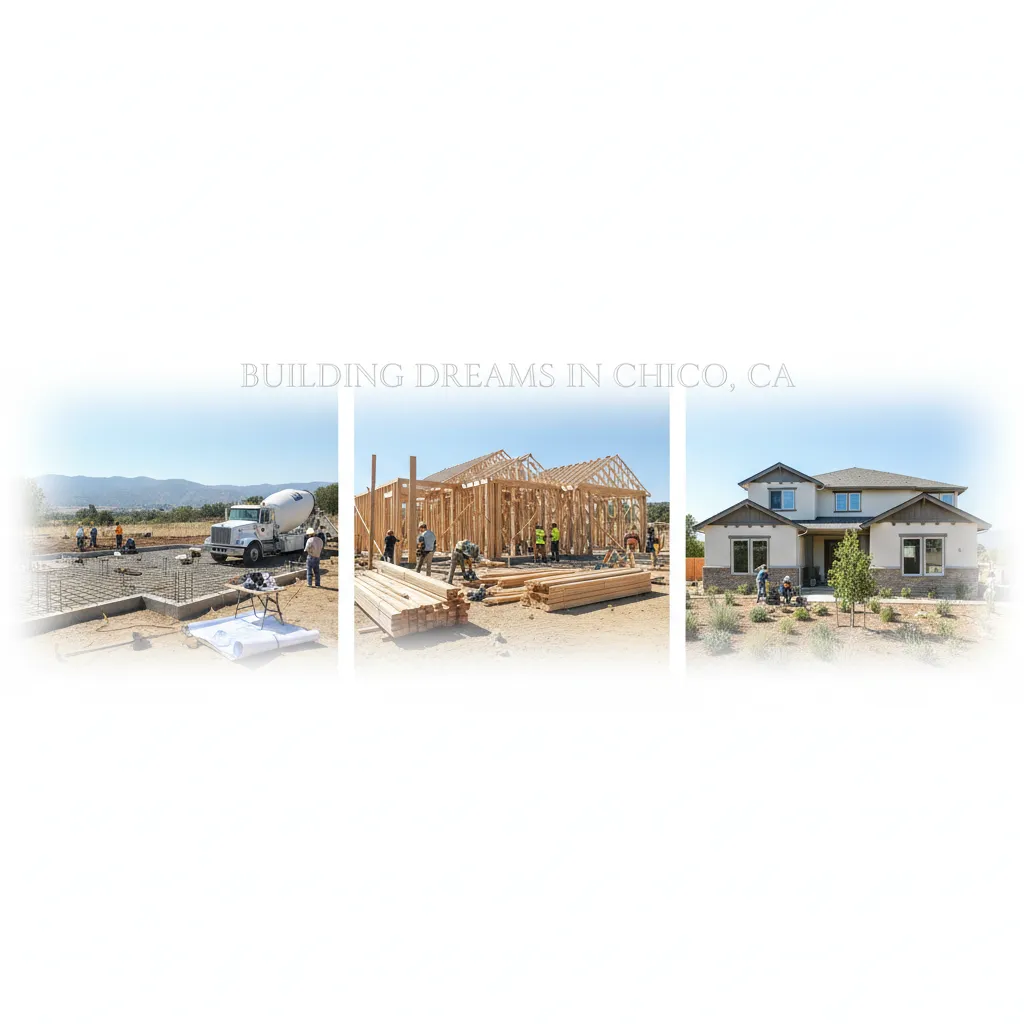
Your Ultimate Guide to Chico Custom Home Construction Steps
Planning a custom home in Chico is exciting. You are not just picking paint colors. You are making hundreds of choices that decide how you will live every day. When you understand the key Chico custom home construction steps before you start, you save money, cut stress, and keep your project moving.
This guide walks you through each stage in plain language, from first idea to move‑in, so you know what to expect and when to make decisions.
Clarify your vision and must‑haves
Before you talk to a builder or designer, get clear on how you want to live in your new home. This shapes almost every choice that comes later.
Think about simple questions first. How many bedrooms and bathrooms do you need now, and in ten years? Do you want an open kitchen where people gather, or quieter rooms where everyone has their own space? How important are outdoor areas, like a covered patio or a pool?
In California, a strong vision at the start helps guide size, layout, and indoor and outdoor spaces so they fit your daily life instead of just looking good on paper (Golden State Design & Engineering). Take notes, collect photos, and write a short list of non‑negotiables so you can share them with your team.
Set a realistic budget and financing
Your budget is the guardrail for the whole project. It decides the size of the home, the finishes you choose, and even which lot will work.
Your budget should include more than just what the builder charges. In Chico, you also need to plan for:
Design and engineering fees
Permits and city or county review costs
Site work like grading, driveways, and bringing in utilities
Septic or well if you are on rural land
Landscaping, fencing, and hardscape
A contingency for surprises, usually several percent of the total
Experts recommend setting your budget and securing financing early so you do not have to pause design or make big last‑minute changes when costs become clear (Golden State Design & Engineering). If you are using a construction loan, talk to your lender about how they release funds and what they need at each phase.
Choose and evaluate your Chico lot
If you already own land, you are ahead. If not, picking the right lot is one of the most important Chico custom home construction steps.
Your lot affects what you can build, how much it will cost, and how comfortable your home will feel. In and around Chico you need to think about topography, views, access, utilities, and local rules:
Slope, soil, and drainage affect foundation design and cost, and poor early planning can lead to structural changes and delays later (Golden State Design & Engineering)
Access to water, power, sewer or septic, and internet can add major cost if they are far from the building area
Setbacks, height limits, and fire rules can limit the size or placement of the home
Builders like Airehart Construction will even help scout lots and check terrain and utilities so the property fits your budget and design goals (Airehart Inc FAQ). Getting a professional site evaluation early can save you tens of thousands of dollars in surprises.
Assemble the right design and build team
A strong team makes the process smoother. For a custom home in Chico you will usually work with a designer or architect, a structural engineer, and a builder or general contractor.
Many homeowners pick a design‑build team so design and construction live under one roof. This improves communication, keeps the design in line with the budget, and speeds up decisions (Golden State Design & Engineering). In Chico, firms like Airehart Construction offer this kind of integrated approach from early vision through construction and post‑construction support (Airehart Inc.).
Whoever you choose, look for:
Experience with Chico and Butte County codes and inspectors
A clear, written process and sample schedule
References from past clients and local projects you can visit
Comfort explaining technical topics in plain language
This is the team you will talk to for months, so you should feel heard and respected in every conversation.
Shape your floor plan and design
Once you know your vision, budget, and lot limits, you can design the actual home. This is where your ideas turn into floor plans and drawings.
In Chico, designers often start by checking any rules that limit house size or footprint before sketching layouts (Jackson & Sands Engineering). You can help by sharing floor plans you like or even cutting out paper “rooms” and moving them around to test what feels right (Jackson & Sands Engineering).
Your design team will:
Draft floor plans that show room sizes and circulation
Create exterior elevations so you see how the home looks from outside
Adjust plans with your feedback and your contractor’s input until you approve them
Plan for features like big open spaces or tall ceilings with early structural engineering help so they stay safe and code‑compliant (Golden State Design & Engineering)
Design‑build teams like DC Builders even use 3D modeling to help you visualize your custom home before construction begins (DC Builders). This is the best stage to make layout changes, since changes on paper are much cheaper than changes in the field.
Integrate energy efficiency from the start
Chico summers are hot, and energy costs add up fast. You can design comfort and savings into your home if you think about efficiency early.
Good design choices include:
Orienting the home to manage sun and shade
Placing windows where they bring in light but do not overheat rooms
Choosing strong insulation and air sealing
Planning for natural ventilation and high‑efficiency HVAC
Making space and roof layout work for future or current solar panels
Integrating these elements at the design stage reduces energy use and improves comfort year round (Golden State Design & Engineering). It also helps you meet California energy codes without last‑minute plan changes.
Finalize plans, engineering, and permits
After you approve the design, your team pulls everything together into a full plan set for permits and construction.
In Chico this often includes:
Structural plans and calculations
Truss designs from a truss manufacturer
Energy calculations to show you meet state energy rules
Fire sprinkler design if required
Site, grading, and utility plans
Electrical and plumbing layouts
Engineering firms like Jackson & Sands coordinate these pieces, then submit the full plan set to the local building department with your contractor for plan review and permits (Jackson & Sands Engineering). Plan review usually takes a few weeks, sometimes longer if the department is busy.
Careful pre‑construction planning at this stage keeps your ideas aligned with your budget and prevents costly changes during construction (Golden State Design & Engineering).
Prepare the site and pour the foundation
Once you have permits in hand, the physical work begins. This is where your Chico custom home construction steps move from paper to dirt.
The construction phase typically starts with:
Clearing and grading the site
Cutting in driveways and access roads if needed
Installing temporary power and erosion control
Digging and forming the foundation
Placing rebar and pouring concrete
Golden State Design & Engineering notes that site prep and foundation are the first phase of active construction before framing, systems, and finishes go in (Golden State Design & Engineering). If your lot has tricky slope or soil, this is where your earlier planning really pays off.
Frame, “dry‑in,” and rough‑in systems
After the foundation cures, framing goes up. This is often the most exciting part for you, because the house finally looks like a house.
On a typical custom home in the Chico area:
Walls, floors, and roof are framed
Roof sheathing, windows, and roofing go on so the house is “dried‑in”
Electrical, plumbing, and HVAC rough‑ins are installed inside the walls
Insulation and then drywall follow
DC Builders explains that for a 3,000 square foot home, it often takes about 2 to 3 months to reach dry‑in and then roughly 8 to 9 weeks for interior finishes after that (DC Builders). Their streamlined process uses pre‑cut and pre‑drilled framing lumber to keep this phase efficient.
Stay involved with walk‑throughs during rough‑in so you can confirm outlet locations, lighting, and any built‑ins before walls are closed.
Complete interior and exterior finishes
With drywall up, the space suddenly feels real. Now you move into finishes, where many of your earlier design choices show up as physical details.
This phase typically includes:
Exterior siding, trim, and paint or other finishes
Cabinets, countertops, and interior doors
Flooring, tile, and baseboards
Plumbing fixtures, lighting fixtures, and appliances
Final HVAC and electrical trims
Airehart Construction notes that Chico custom home projects usually take around 9 to 16 months from permit to completion, and that the construction phase is supported by regular progress meetings, finish selections with guidance, and careful schedule and budget management (Airehart Inc.). Ask your builder for a clear selections schedule so you know when each choice is due.
Plan for inspections and approvals
Throughout construction, local inspectors will visit the site to check that work meets building codes. These include foundation, framing, rough‑in, insulation, and final inspections.
In the post‑construction phase, Airehart describes a final round of inspections to confirm code compliance, followed by a certificate of occupancy, professional cleaning, and a detailed final walk‑through to catch any last items before move‑in (Airehart Inc.). Your builder will manage scheduling, but you should attend the final walk‑through so you can note anything that needs touch‑up.
Understand the full timeline
You will see different timeline estimates, and they all have something in common. The size of your home, design complexity, and weather all affect the schedule.
Here is what the research says for Chico and nearby areas:
Airehart Construction often sees about 10 to 12 months from groundbreaking to move‑in for many custom homes, once plans and permits are done (Airehart Inc FAQ)
DC Builders notes that a 3,000 square foot custom home can take 9 to 12 months to build, inside a broader 12 to 18 month overall process from early planning to completion (DC Builders)
Design, engineering, and permit time come before those construction months. Your builder should give you a more exact schedule once your plans and permit approvals are final.
Stay engaged from start to finish
Your role does not end once you hire a team. Staying engaged helps keep the project aligned with your vision and reduces delays.
Golden State Design & Engineering points out that regular site visits and steady communication with your builder make it easier to manage expectations and respond quickly when questions come up (Golden State Design & Engineering). Ask for:
A single point of contact for questions
Regular update meetings, weekly or bi‑weekly
Clear deadlines for decisions like finishes and fixtures
A shared list of open items so nothing falls through the cracks
When you know the next three Chico custom home construction steps at any point, the process feels much less overwhelming.
Ready to build in Chico? Here is your next step
You now have a clear view of the main Chico custom home construction steps, from early vision and lot choice to design, permits, building, and final inspections. The right local partner can turn that plan into a home that fits your life and your land.
If you are ready to move from research to action, reach out to a trusted Chico‑area builder like Olive City Construction. They can walk your lot, talk through your ideas, help you avoid common pitfalls, and map out a step‑by‑step path to move‑in day.
Visit Olive City Construction to start your custom home journey in Chico with a team that understands the local process and is ready to guide you through every step.
